Replacing your AC for the first time? This guide covers sizing, efficiency ratings, duct inspection, thermostat compatibility, warranty coverage, and what to expect on installation day.
Share:

Summary:
The size of your air conditioner isn’t about matching what you had before. It’s about what your home actually needs to stay comfortable without wasting energy.
An oversized unit will cool your house fast, but it’ll shut off before removing humidity. You’ll end up with a clammy, uncomfortable space and higher bills from all that short-cycling. An undersized system runs nonstop and never quite gets there, wearing itself out in the process.
Proper sizing starts with a Manual J load calculation. This isn’t a guess based on square footage alone. It accounts for insulation, window placement, ceiling height, sun exposure, and how your home is built. A contractor who skips this step is guessing, and you’ll pay for it later.

A Manual J load calculation is the industry standard for sizing residential HVAC equipment. It was developed by the Air Conditioning Contractors of America, and it’s the only method that accounts for all the variables that affect how much cooling your home needs.
The calculation looks at your home’s square footage, but it doesn’t stop there. It factors in the type and amount of insulation in your walls and attic. It measures your windows—how many you have, what direction they face, and whether they’re single or double-pane. It considers ceiling height, the number of occupants, and even heat-generating appliances like ovens and computers.
In Santa Clara County, CA, where summer temperatures regularly climb into the 80s and 90s, sun exposure makes a big difference. A home with large south-facing windows will have a higher cooling load than one with shade trees and north-facing glass, even if they’re the same size.
The output of a Manual J calculation is a specific BTU requirement for your home. From there, we can recommend the right tonnage. One ton of cooling equals 12,000 BTUs per hour. A typical 1,500-square-foot home might need a 2.5 to 3-ton system, but that’s just a ballpark. Your actual needs depend on those dozens of variables the calculation measures.
Contractors who size based on rules of thumb—like “20 BTUs per square foot”—are cutting corners. That method doesn’t account for your home’s unique characteristics, and it often leads to oversized equipment. You end up paying more upfront for a bigger system that costs more to run and doesn’t perform as well.
When you’re interviewing contractors for your home AC replacement, ask if they perform a Manual J load calculation. If they can give you a quote without visiting your home and taking measurements, that’s a red flag. Proper sizing requires a proper assessment.
Want live answers?
Connect with a All Fresh Temp expert for fast, friendly support.
If you’re shopping for a new AC, you’ll see SEER ratings everywhere. SEER stands for Seasonal Energy Efficiency Ratio, and it measures how efficiently your system cools over a typical season.
Higher SEER ratings mean better efficiency. A 20 SEER system uses significantly less energy than a 14 SEER system to produce the same amount of cooling. That translates directly to lower monthly utility bills.
As of 2023, new air conditioners must meet minimum efficiency standards—14 SEER2 in most of the country. If your current system is 10 or 15 years old, it’s probably running at 10 SEER or less. Upgrading to a modern system can cut your cooling costs substantially, especially in Santa Clara County, CA, where you’ll run your AC from late spring through early fall.

In January 2023, the Department of Energy updated how efficiency is measured. The new standard is called SEER2, and it uses more realistic testing conditions than the old SEER rating.
SEER2 testing accounts for things like ductwork resistance and airflow conditions that better reflect how your system actually performs in your home. A unit rated at 16 SEER under the old standard might be rated at 15.3 SEER2 under the new one. The system didn’t get less efficient—the measurement just got more accurate.
When you’re comparing systems, make sure you’re comparing apples to apples. A 16 SEER2 system is roughly equivalent to a 16.75 SEER system under the old standard. The new ratings give you a better sense of real-world performance, which helps you make a more informed decision.
The efficiency difference between a minimum-rated system and a high-efficiency one can be significant. A 14 SEER2 system might cost less upfront, but a 20 SEER2 system could save you hundreds of dollars a year on cooling costs. Over the 15-year lifespan of the equipment, those savings add up.
A 20 SEER2 unit is about 43% more efficient than a 14 SEER2 unit. If you’re spending $150 a month on cooling in the summer, that efficiency bump could save you over $60 a month—more than $700 over a typical cooling season.
The upfront cost difference between a 14 SEER2 and a 20 SEER2 system might be a few thousand dollars. But when you factor in lower monthly bills, potential rebates from PG&E or Silicon Valley Clean Energy, and federal tax credits up to $2,000 for high-efficiency equipment, the higher-efficiency system often pays for itself within a few years.
Don’t just look at the sticker price when planning your home AC replacement. We can help you calculate the payback period based on your actual usage and local energy rates. That’ll give you a clear picture of which efficiency level makes sense for your situation.
Beyond SEER2 ratings, the type of system you choose affects both comfort and efficiency. Single-stage systems are either on at 100% or off. Two-stage systems can run at a lower capacity when full power isn’t needed. Variable-speed systems can operate anywhere from 25% to 100% capacity, adjusting continuously to match your home’s needs.
Single-stage systems are the most affordable upfront, but they’re also the least efficient. They blast cold air until the temperature drops to the set point, then shut off. The temperature swings up, the system kicks back on, and the cycle repeats. You get temperature fluctuations and higher energy use from all that starting and stopping.
Two-stage systems run at a lower speed most of the time, ramping up to full capacity only when needed. This provides more consistent temperatures and better humidity control than single-stage systems. They’re a middle ground between affordability and performance.
Variable-speed systems are the most efficient and comfortable option. They adjust their output in small increments, running almost continuously at low speeds to maintain a steady temperature. This eliminates the temperature swings you get with single-stage systems and maximizes humidity removal. They’re quieter, more efficient, and provide the most consistent comfort.
The efficiency ratings you see advertised—like 20 SEER2—typically apply to variable-speed systems running under ideal conditions. A 20 SEER2 variable-speed system will outperform an 18 SEER2 single-stage system in real-world use, even though the SEER2 numbers are close.
If you’re sensitive to temperature fluctuations or you want the best possible efficiency, a variable-speed system is worth the investment. If you’re on a tighter budget and can tolerate some temperature swings, a two-stage system offers a good balance. Single-stage systems are fine if upfront cost is your primary concern, but you’ll give up some comfort and efficiency.
We can explain the differences and help you weigh the tradeoffs based on your priorities and budget. There’s no one-size-fits-all answer, but understanding how these systems work helps you make a decision you’ll be happy with for the next 15 years.
Once you’ve selected your system, you’ll want to know what happens next. Most AC installations in Santa Clara County, CA take between 4 and 8 hours for a straightforward replacement. If ductwork modifications or electrical upgrades are needed, the job might extend to a full day or require a second visit.
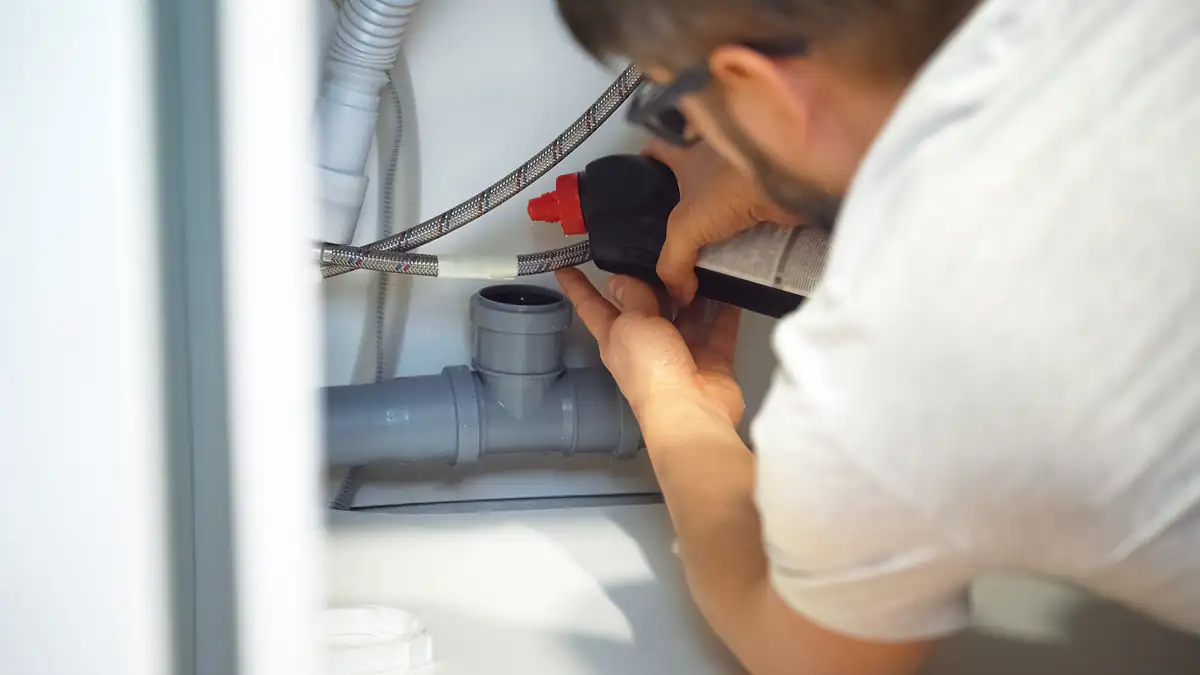
On installation day, our crew will start by protecting your home—laying down drop cloths and taking care around walls and furniture. We’ll safely remove your old system, recovering the refrigerant in an environmentally compliant way as required by the EPA. Then we’ll install the new outdoor condenser unit and indoor air handler or evaporator coil, connect refrigerant lines, and tie everything into your existing ductwork and electrical system.
The final step is commissioning the system. This includes pulling a vacuum on the refrigerant lines to remove moisture, charging the system with the precise amount of refrigerant specified by the manufacturer, testing airflow, and calibrating your thermostat. An improper refrigerant charge is one of the leading causes of inefficiency and premature failure, so this step matters. We don’t rush it.
Article details:
Share:
Continue learning:
Get Your Free HVAC Quote Today
Contact our friendly team today for a free estimate and experience the difference.
Company
Support
Useful Links